Manage AI Providers
Overview
AI providers are needed to implement the AI based features of:
- Ask MetaKarta which is an AI based Natural Language Processing (NLP) metadata query tool.
- MetaKarta’s Metadata Management MCP server for Metadata Management tools, resources, and prompts delivers governed metadata to external AI agents via the industry-standard for Agentic AI. It returns the metadata evidence behind every response and respects the permissions already in place, so an agent only surfaces what its user is authorized to see.
- MetaKarta Semantic Hub AI Based features including:
- MetaKarta Semantic Hub Expression conversion
- MetaKarta Semantic Hub MCP Server for Semantic Hub tools, resources, and prompts delivers curated context to external AI agents via the industry-standard for Agentic AI. It returns the metadata evidence behind every response and respects the permissions already in place, so an agent only surfaces what its user is authorized to see.
Add and Edit an AI Provider
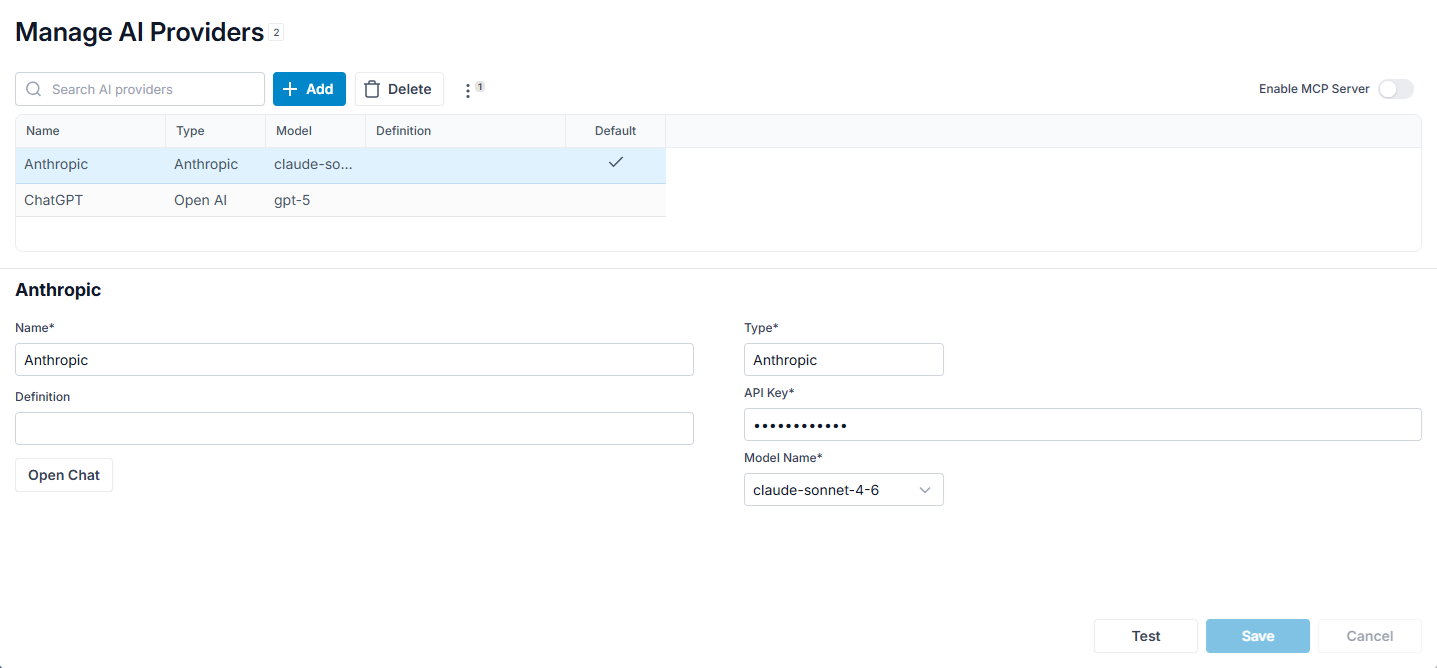
Steps
- Sign in as a user with at least the Application Administrator capability global role assignment.
-
Go to Manage > AI Providers in the banner.
-
Click the Add button.
-
Provide a (unique) Name.
-
Enter the Definition
-
Pick the Type from the pull-down.
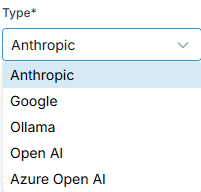
- Enter the API Key for authentication with the AI provider.
- Pick the Model Name from the pull-down.
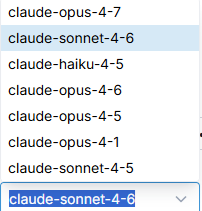
If you create a new Provider entry, you must also set it to the Default afterwards so that it is chosen by an AI feature.
Example
Sign in as the Administrator user. Click the Add button.

Enter as above. Click Save.
Be sure to set the proper AI provider entry as Default.

Delete an AI Provider
Steps
- Sign in as a user with at least the Application Administrator capability global role assignment.
- Go to Manage > AI Providers in the banner.
- Select one of the entries.
- Click the Delete button.
- Click OK.
Enable the MCP Server
Steps
- Sign in as a user with at least the Application Administrator capability global role assignment.
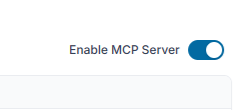
- Set the Enable MCP Server switch in the upper right to on or off.
Generate User Access Token
Now the MCP is ready for requests from and LLM or agent, but these requires an access token. MetaKarta generates per-user access tokens. Permissions follow the individual, so agent access mirrors exactly what that person is already authorized to see.
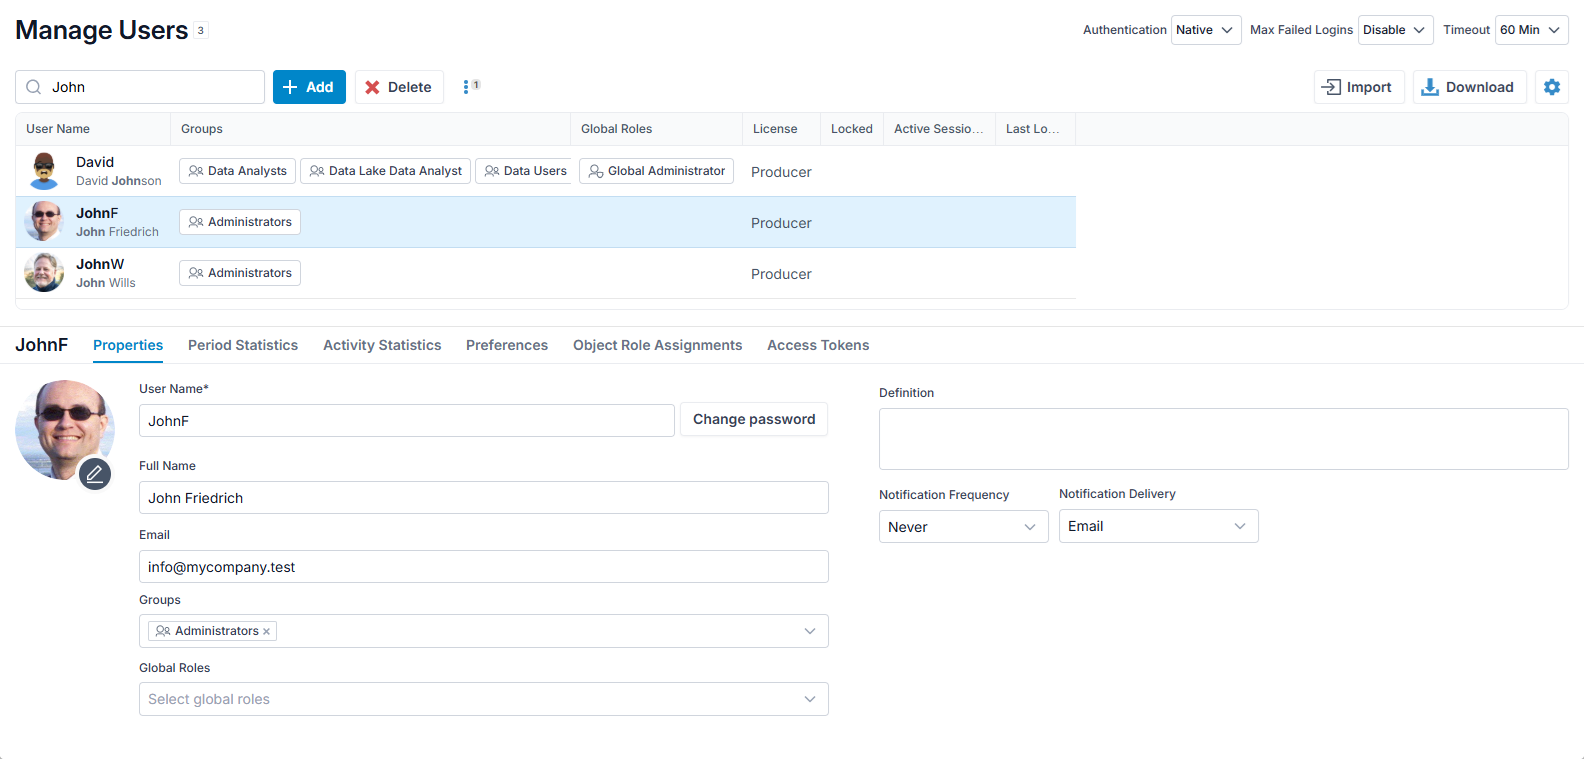
- Go to Manage > Users and select a user. This use will use to determine the scope and permission of the queries.
- Go to the Access Tokens tab.
- Select Add, enter a token name (and optional definition), then select OK
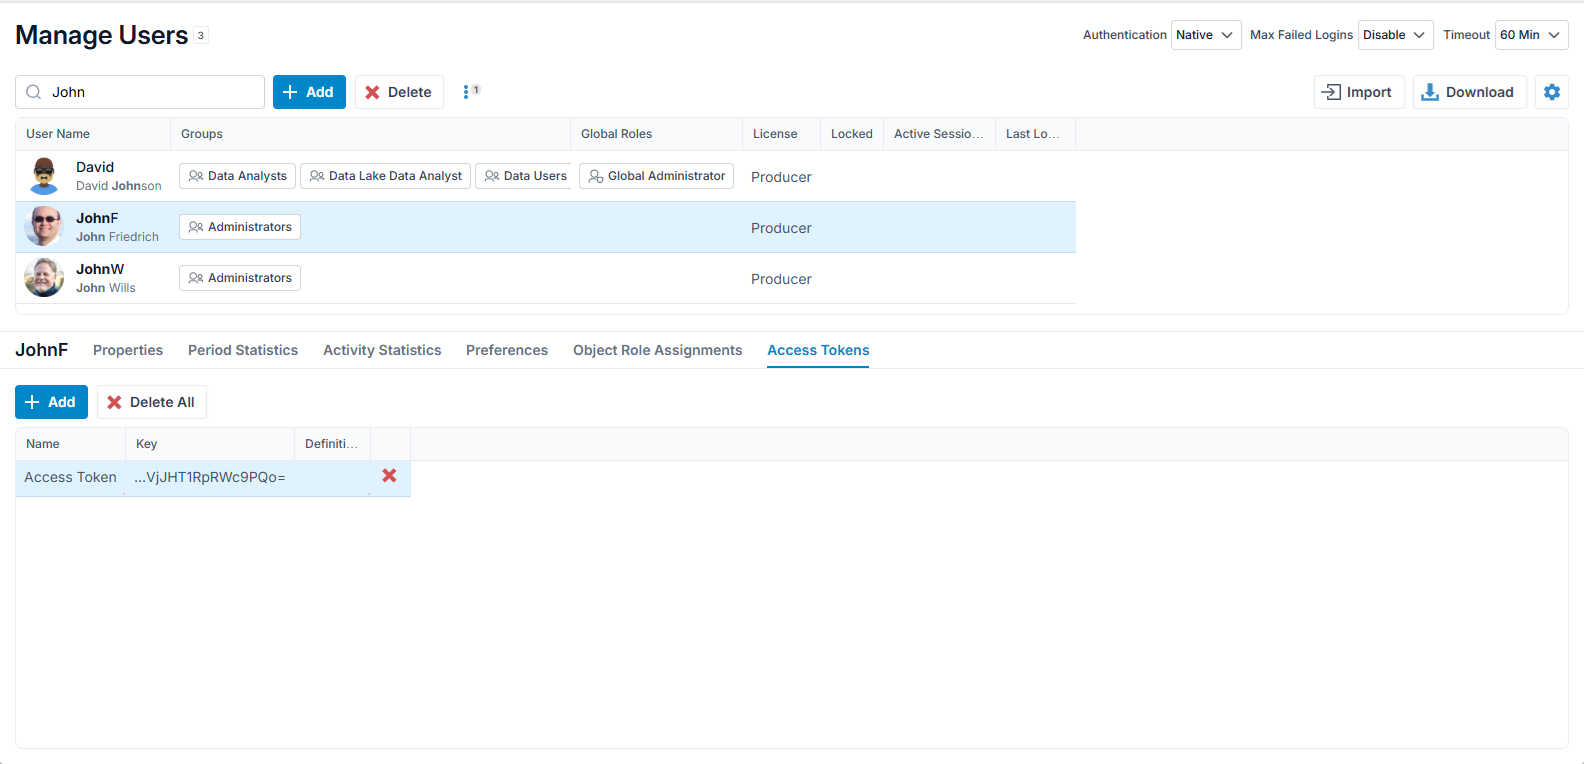
- Copy the generated personal access token (PAT) immediately and store it securely.
Example
Install an LLM CLI to test
OpenAI ChatGPT Codex
In this example we will use the OpenAI ChatGPT Codex, but others can be used such as Anthropic Claude or Microsoft GitHub CoPilot CLI.
Download and install Codex for Windows: https://openai.com/codex/
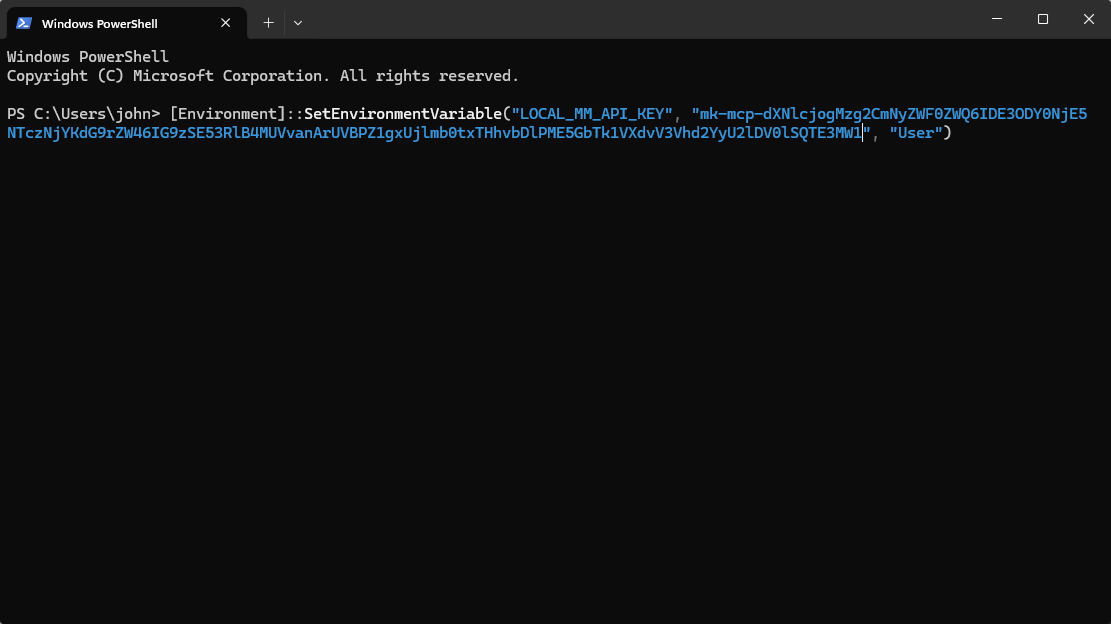
Save the PAT as a user environment variable in PowerShell:
[Environment]::SetEnvironmentVariable("LOCAL_MM_API_KEY", "<your-MM-PAT>", "User")
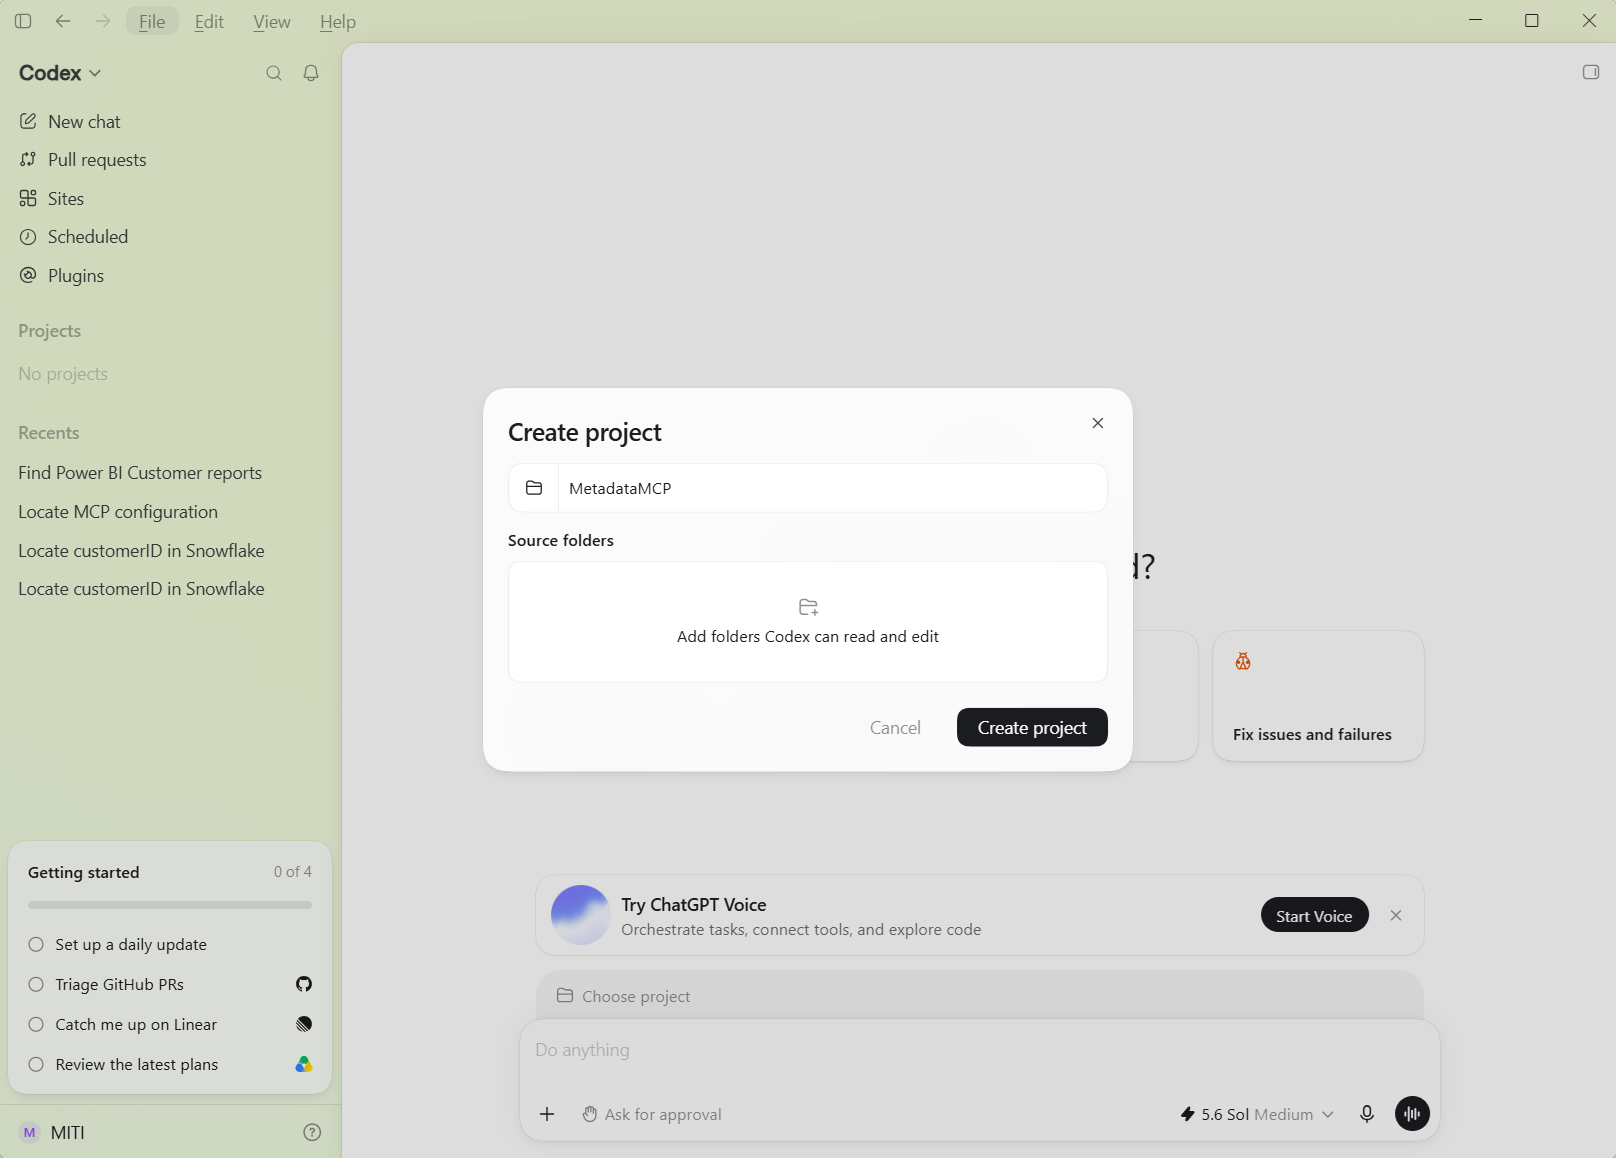
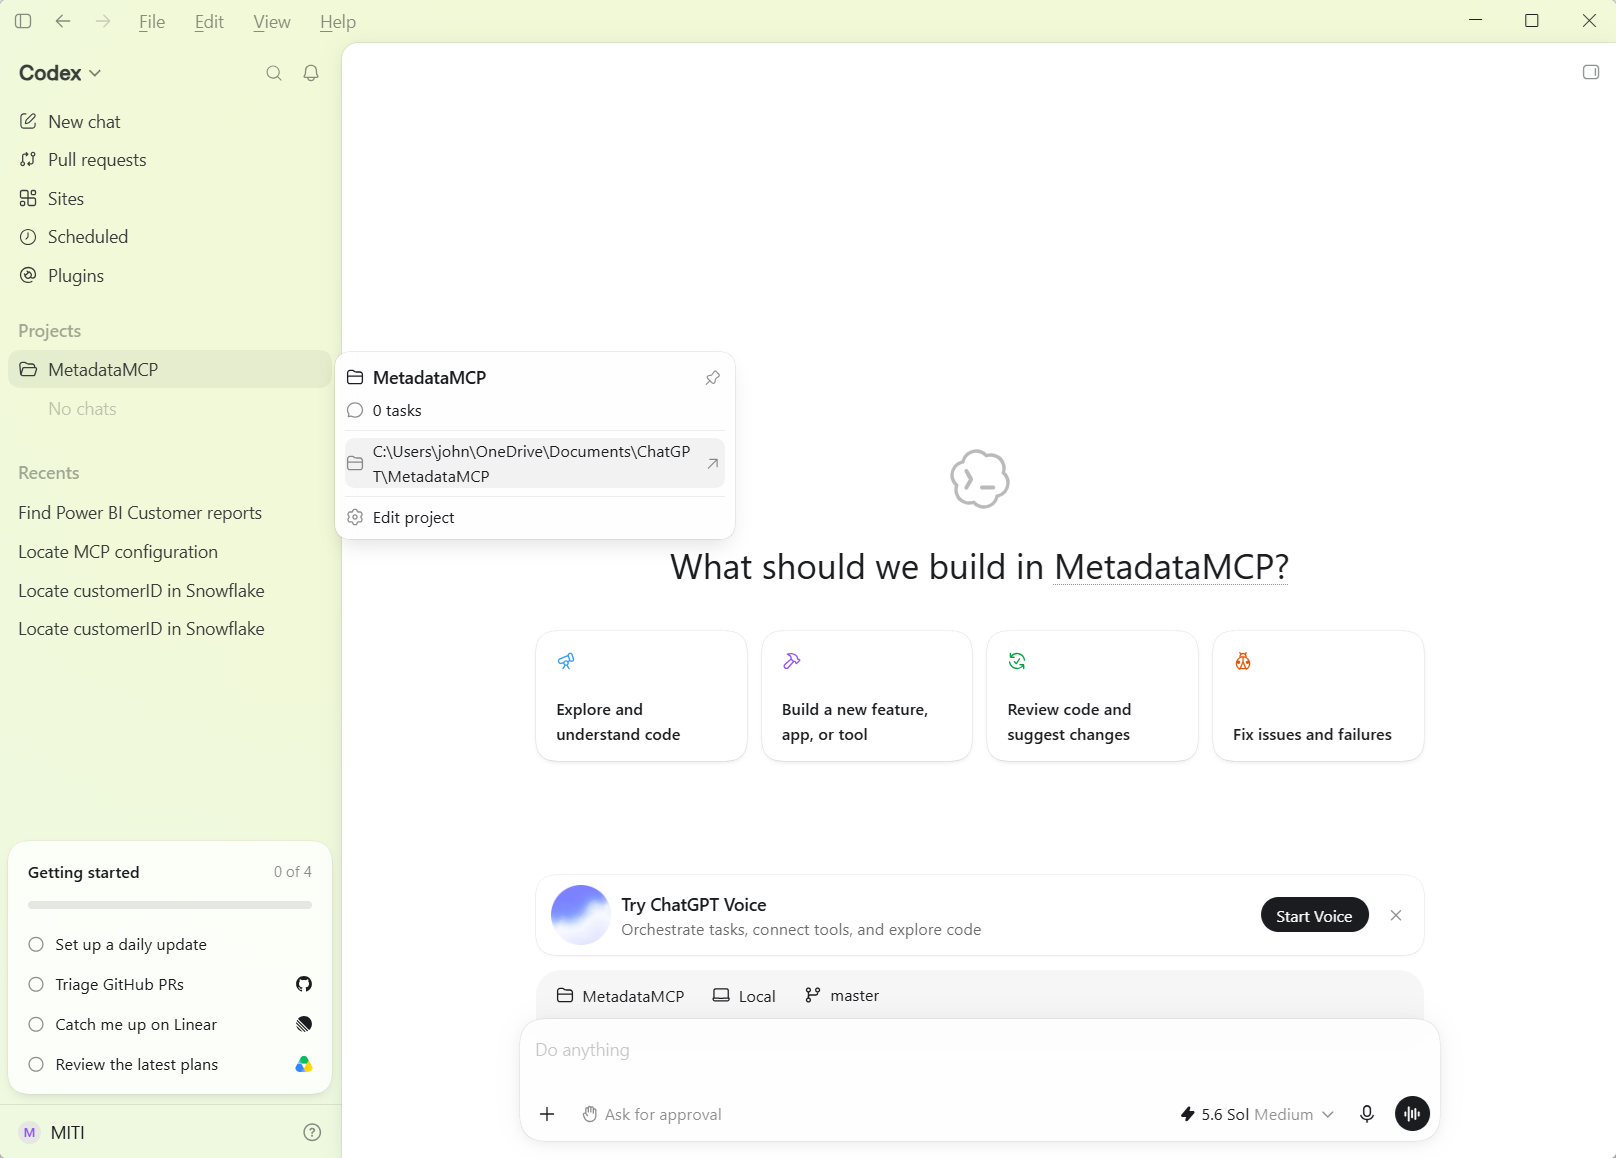
Run ChatGPT desktop (Codex) and create a new project (plus sign) named MetadataMCP
Create a folder/file in your project directory .codex/config.toml
- Add the following to the config.toml file
[mcp_servers.local_mm]
url = "http://<host>:19980/MM/mcp"
tool_timeout_sec = 300
env_http_headers = { "X-API-Key" = "LOCAL_MM_API_KEY" }
local_mm can be replaced with any name for your MCP server; the URL protocol, host name, and port can also be replaced with your actual MetaKarta URL
- Fully restart the Codex, open the project, and enter /mcp to confirm that local_mm is connected. You can also enter “Use” and the name of your MCP server to verify the MCP server is available.
- Try a question from MCP.
Microsoft Visual Studio Code
Steps
-
Download Visual Studio Code from https://code.visualstudio.com/download?_exp_download=fb315fc982.
-
Select the "User Installer" package for the architecture of your machine (e.g., "x64")
- Execute the installer:
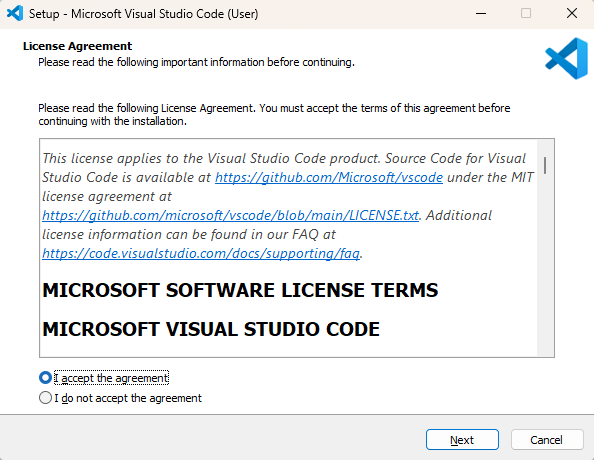
- Specify the default options and Install.
- Once installed, click Start and select Visual Studio Code
VSCode requires GitHub for storage. You must authorize GitHub to allow VSCode to connect viayour GitUb user.
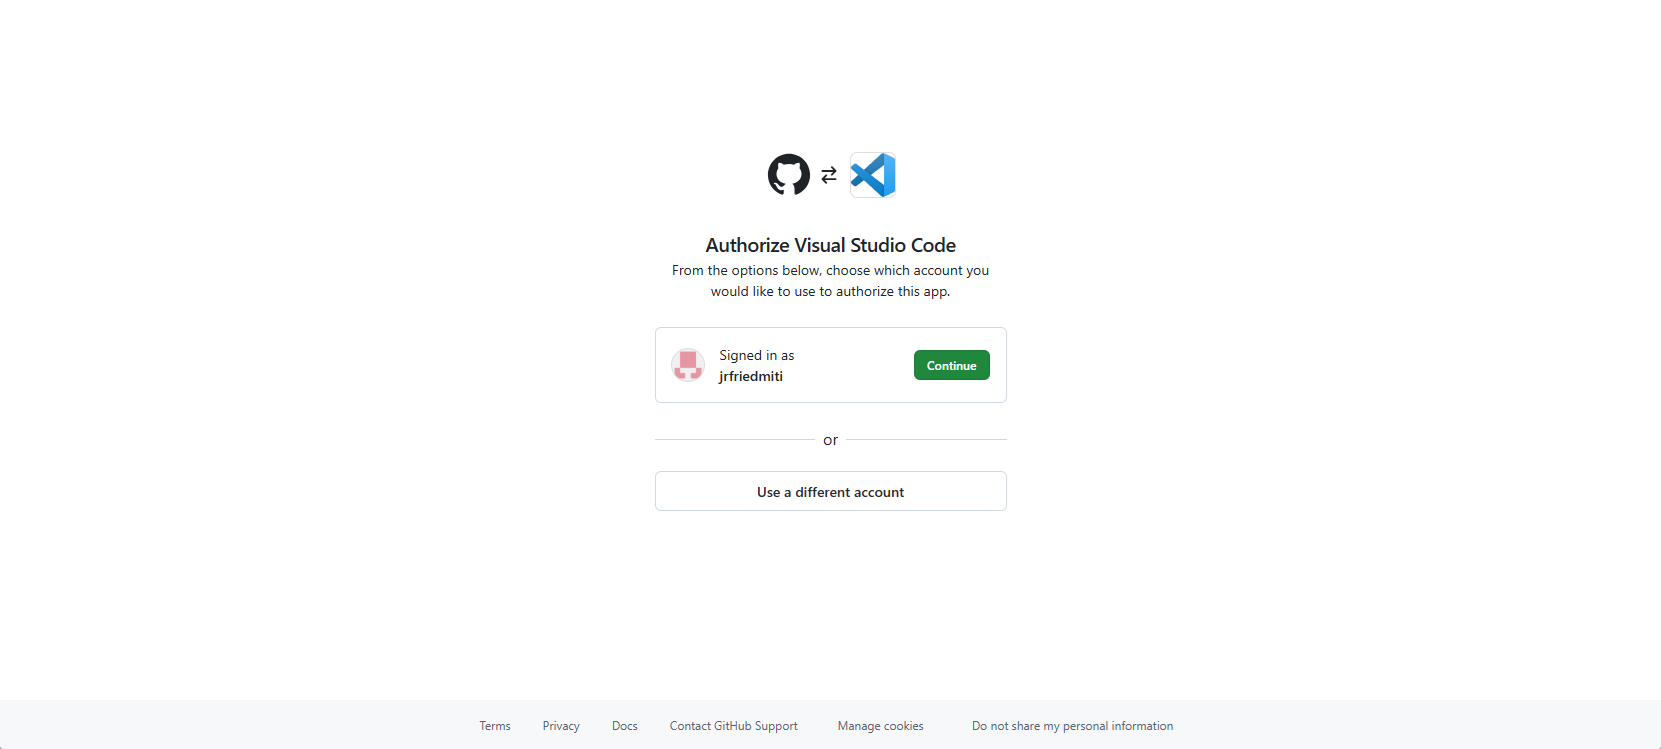
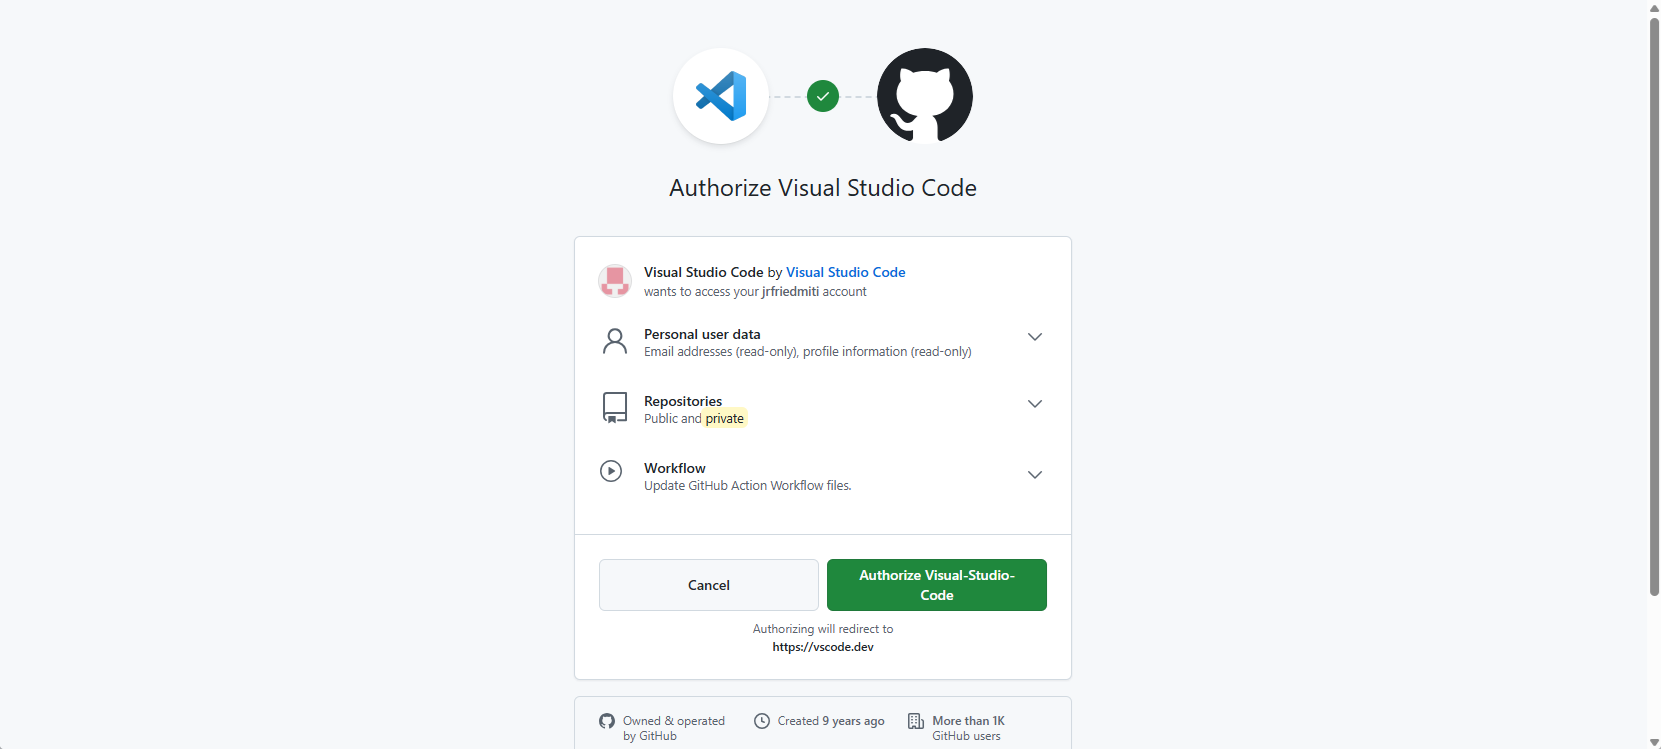
- Once authorized, in VSCode, go to View > Command Palette and type " MCP" in the picklist and click Open User Configuration and enter the following
{
"servers": {
"Metadata": {
"url": "http://<host>/MM/mcp",
"type": "http",
"headers": {
"X-API-KEY": "<Local_MM_API_Key>"
}
}
},
"inputs": []
}
- Then click File > Save.
- Now, you must restart the VSCode tool. Go to File > Exit. Then Start > Visual Studio Code
- Click > Start under the "servers" text in the text editor:
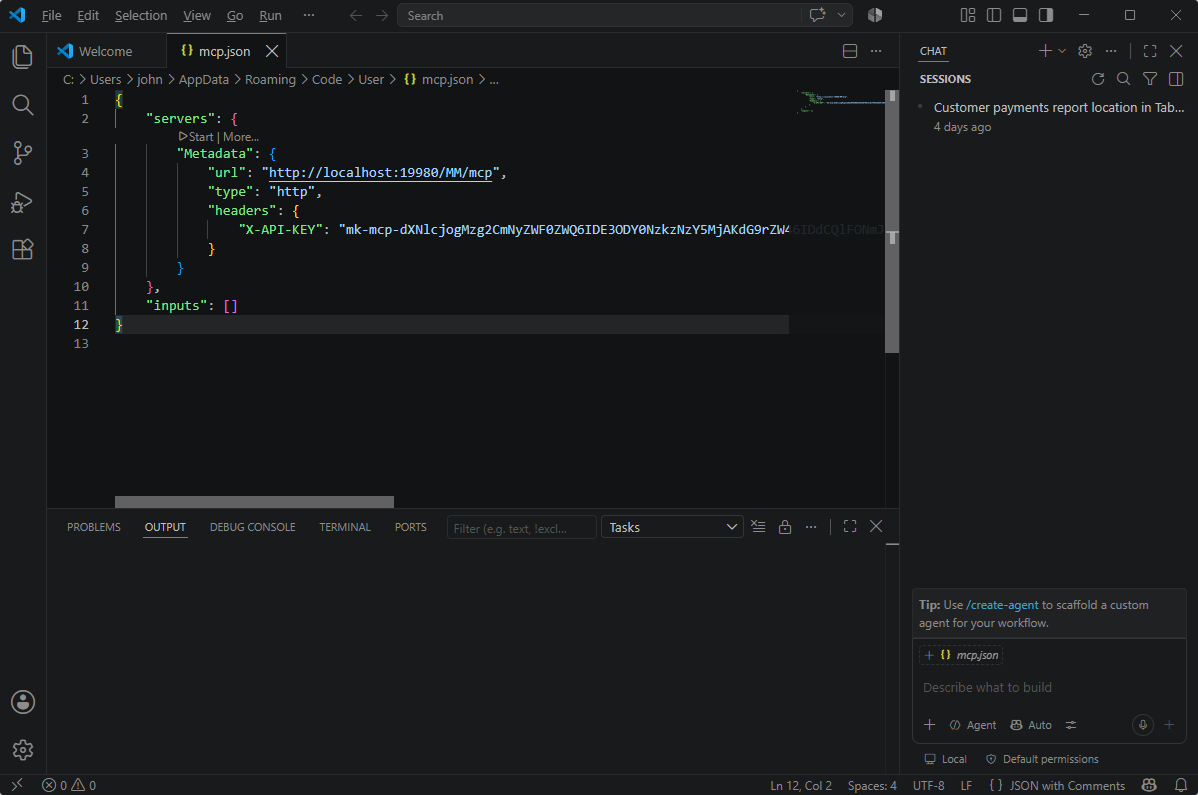
- Click Configure Tools
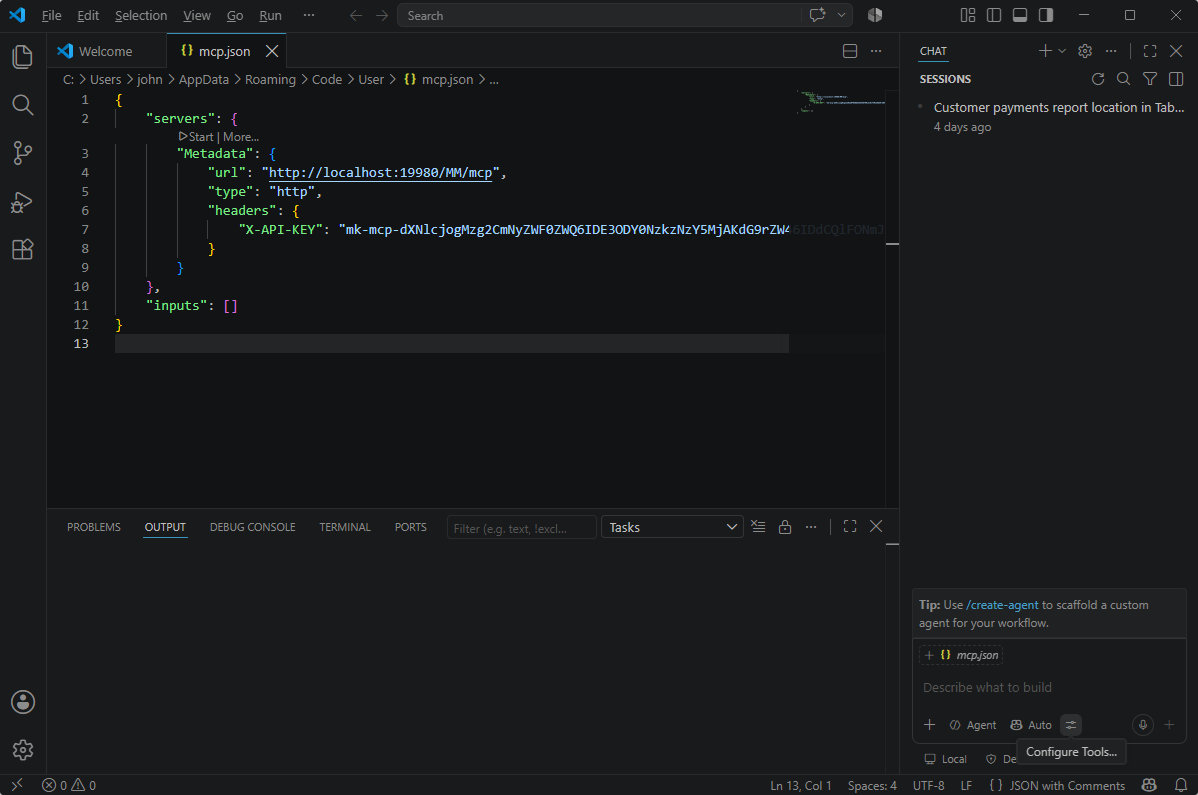
- Ensure all MCP options are checked
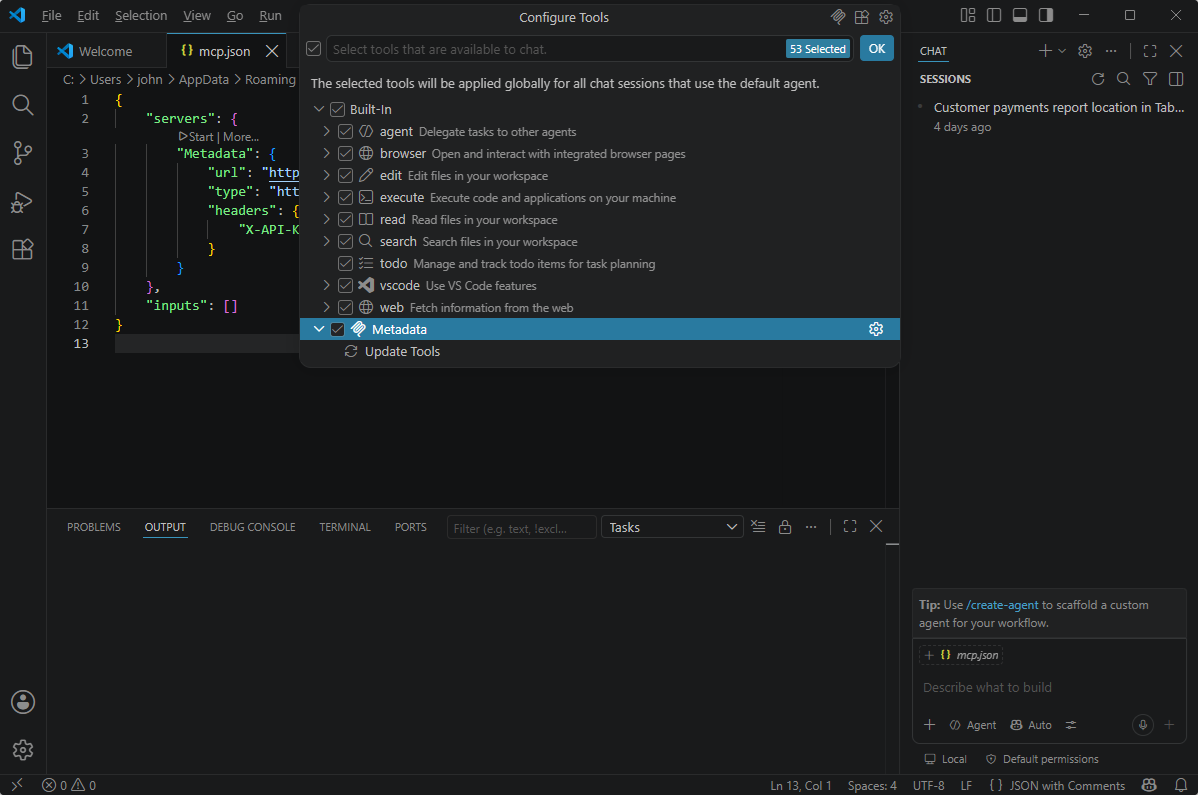
- Specify the MCP in the question.
- Respond "always allow" in the prompt.
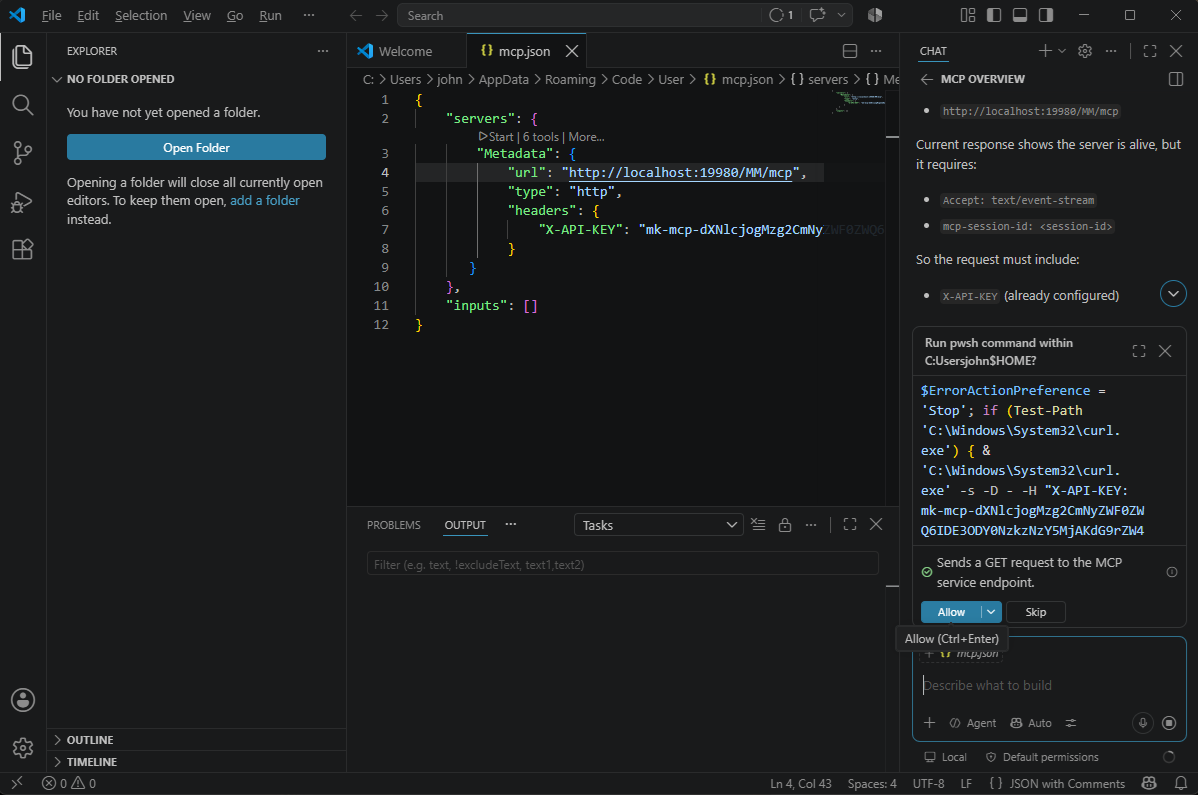
It is installed and running, so ask a question.